
yesterday i some how commissioned my manly husband to help me make a button tufted headboard (he's really good). I swear i only made him do the manly things, like cut the wood, "hold it here.. no here!", "where are my scissors, no the fabric cutting ones". I must say he's a trooper for putting up with me, i'm a lucky woman!
It was a pretty easy, but kind of difficult project, it took us about 4 hours to complete, and if you don't have those saw horse things, you'll want two people. This cost us about $180 in supplies for a king size bed. Here's what you'll need:
1/2 sheet of plywood (if mounting to the wall, otherwise you'll want 3/4 inch at least)
decorator needles
upholstery thread
adhesive spray
a good pair of fabric cutting scissors
button tufting kits (as many buttons as you want)
upholstery grade fabric (King size required about 3M)
1/2 finishing nails
D Hooks if you plan on mounting on the wall!
1 or 2 inch Foam from your local fabric store. This is entirely up to you, i used 1 inch.
Batting
staple gun
hammer
husband, boyfriend, girlfriend, wife, friend or saw horse things.
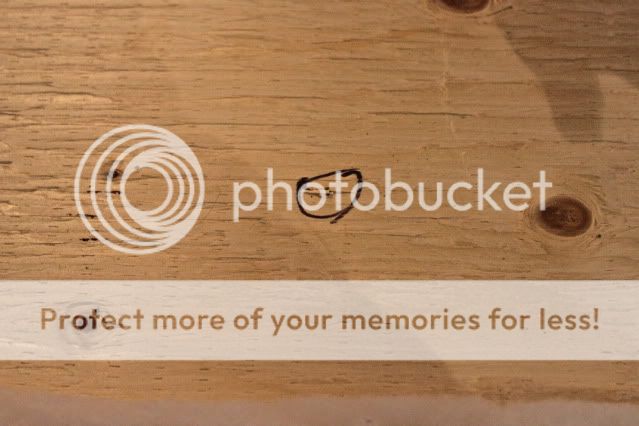
First, after your husband cuts your wood all manly, have him (and beefy) also drill holes in the wood for your buttons. I did a diamond pattern and put them about 10 inches apart. The more buttons you add, the more dramatic it will look.. just keep in mind if you're going for dramatic, button tufting hurts your fingers.

Once your holes are drilled, put 2 nails (1 on either side) of each whole. i recommend making your buttons before you complete anything else. The button tufting kits are super easy.
spray some adhesive down. You might feel panicked at this time because you have literally 15 seconds to lay your foam down before it dries. I recommend planning this step out in advance. Once your foam is down, lay your batting on the floor (if you're not lucky enough to have those horse things) and staple around the back. repeat with your fabric.

Once your fabric is all in tact and your happy with the way it looks, thread your need and push it from the back of your headboard to the front

attach your button to the needle, you should loop it through 2-3 times to assure you have a strong button. push your needle back through your headboard to the other side (this part sucks, my holes were small so it was hard to find). Push your button down with one hand and pull the thread as tight as you can on the other side. Staple in to place and wrap in a criss-cross fashion from nail to nail and staple in place again. Once you've completed all of your buttons, have your husband put it up and make the bed around your dog.
(that's not lose fabric on the top, that's where jonah was grabbing it to hang it up, i should have smoothed it out.. buuuuttt i didn't!)

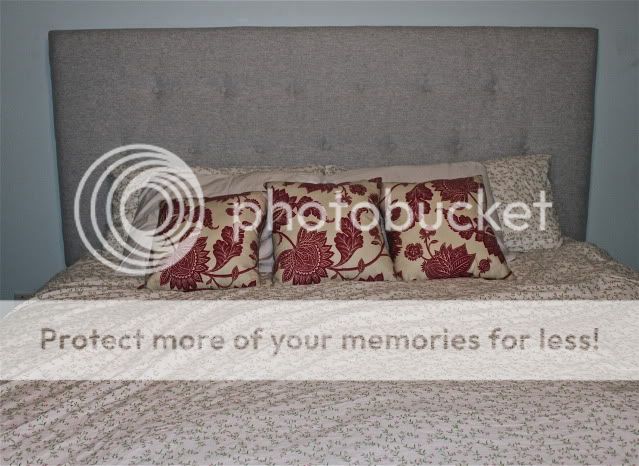

My bedroom is currently in make over phase since bought a king size bed. I'll show you the bedroom in it's entirety with the headboard when it's complete.
It looks amazing so far.
ReplyDelete